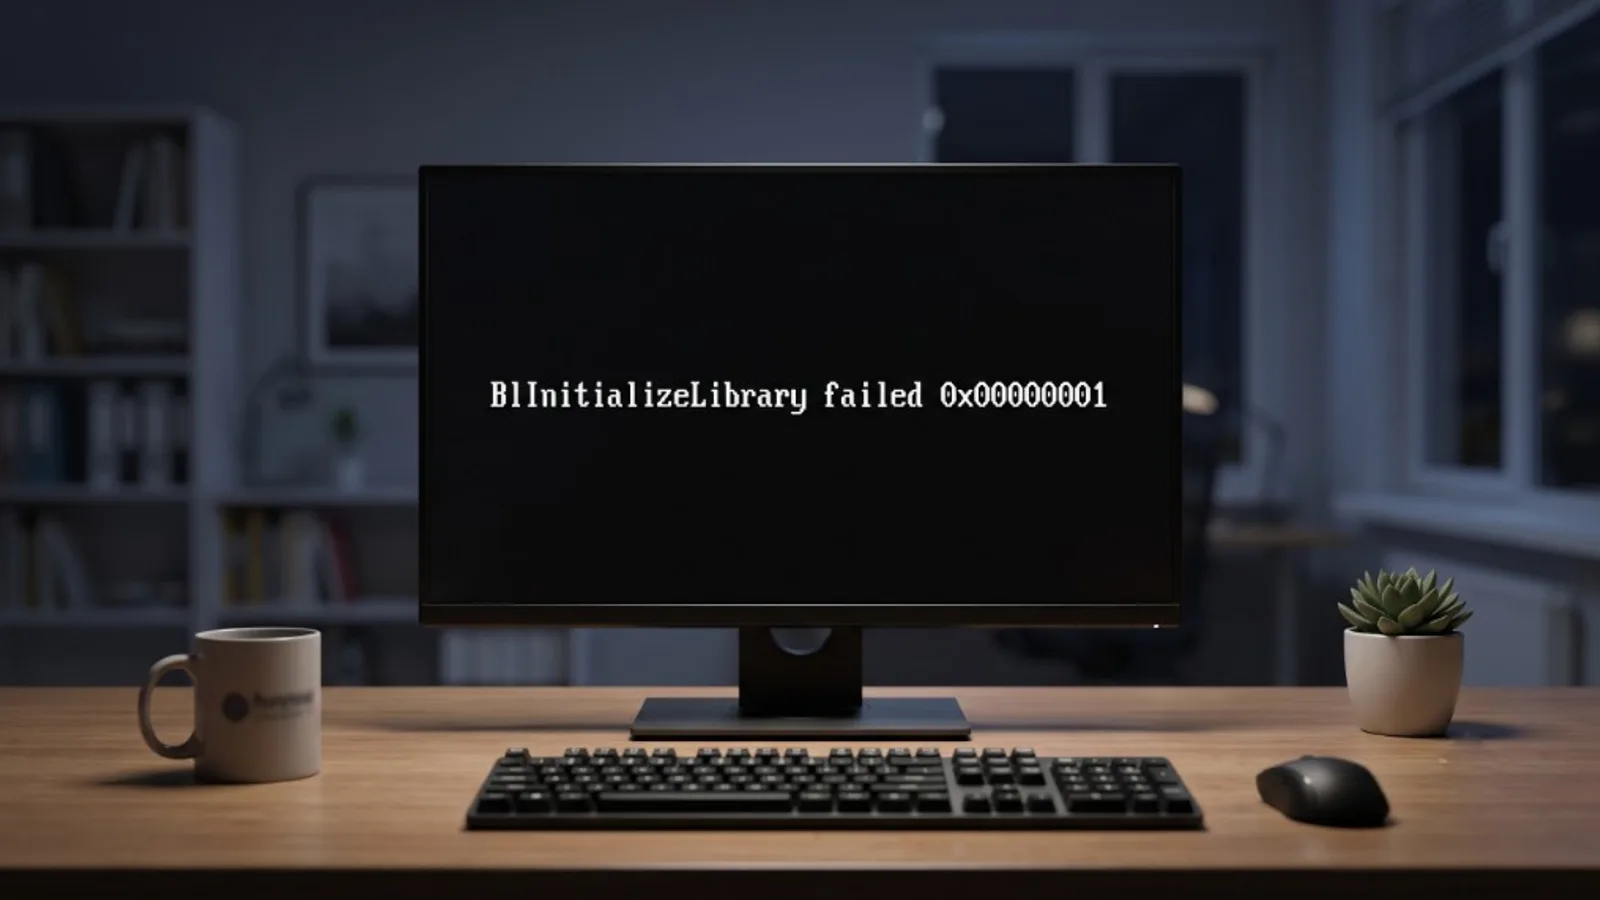
It started as a typical day on the bench. A client brought in a relatively new Lenovo Legion T5-26AMR5 gaming desktop (around 2022). The machine would not boot past a stark text-only error screen. The code was one technicians learn to respect: BlInitializeLibrary failed 0x00000001.
This error shows up often on certain pre-built systems, especially the Legion series. It usually follows an automatic firmware update through Windows Update that gets interrupted or fails mid-write. The result is catastrophic corruption in the motherboard UEFI region, damaging fTPM data and locking Secure Boot so hard that no normal boot path remains.
Why software fixes fail
Boot problems usually send people toward software or storage troubleshooting. With BlInitializeLibrary failed on a Legion, those steps burn hours without moving the needle.
Standard software approaches fail because:
- Cloning drives does not help: We tried known-good Windows SSDs. The motherboard blocked every one of them.
- Partition scheme changes do nothing: Switching GPT and MBR does not matter when the BIOS cannot hand off boot to any storage device.
- Clearing keys or CMOS is not enough: Wiping Secure Boot keys or removing the CMOS battery resets NVRAM, but it does not repair corrupted UEFI blocks on the SPI chip.
The lock lives in hardware. The BIOS chip itself holds corrupted code that stops the system from starting any boot sequence.
The hardware path: the SPI flash chip
After software methods were ruled out, we moved to a board-level repair. The goal was to locate the primary BIOS chip, remove it, and either reprogram clean firmware or replace the chip outright.
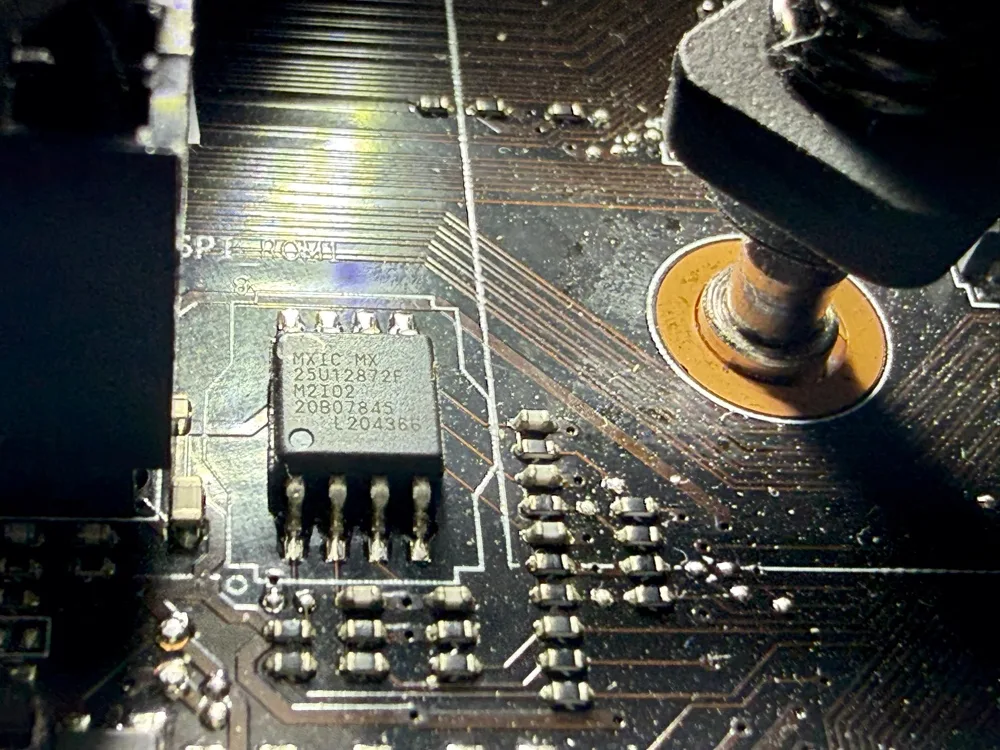
On the Lenovo Legion T5-26AMR5 motherboard, the target is an 8-pin surface-mount chip near the PCIe slots or the B550 chipset heatsink. We identified it as:
- Manufacturer: Macronix (MXIC)
- Model: MX25U12872F
- Capacity: 16MB (128Mbit)
Critical warning: The “U” in the model name means this is a 1.8V chip. Connecting a standard 3.3V or 5V CH341A programmer without a 1.8V adapter can destroy it instantly.
Reprogramming vs. replacement
At this point a technician usually has two workable paths:
- In-house reprogramming: With a CH341A and a 1.8V adapter, read the corrupted chip, preserve the unique DMI block (serial and Windows license data), splice it into a clean Lenovo BIOS image, and flash it back. That takes specialized tools and hex-editing skill.
- Pre-programmed replacement: Install an identical chip already flashed with clean BIOS firmware, then restore the machine identity afterward.
For turnaround and reliability on this job, we chose the pre-programmed replacement. We desoldered the corrupted Macronix chip with a hot-air rework station and soldered the new chip carefully, aligning Pin 1 correctly on the SPI ROM pads.
Restoring DMI data (serial number)
With the new chip installed, the Legion booted into Windows and skipped the BlInitializeLibrary error entirely. The replacement chip did not carry the client’s original serial number (SN) or Machine Type Model (MTM), which can trigger warnings like “Invalid G3 Data” and disrupt Windows activation.
Because this Legion uses an AMI (American Megatrends) BIOS, we fixed
that in software once Windows was running. Running
AMIDEWINx64.exe as administrator let us write the original
DMI data back into NVRAM:
AMIDEWINx64.exe /SS "OriginalSerialNumber"AMIDEWINx64.exe /SP "Legion T5-26AMR5"
After a restart, the BIOS showed the correct serial number and Windows activated against the hardware signature again. A board that looked dead was fully restored, without replacing the whole motherboard.
Board-level computer work like this sits alongside the everyday diagnostics we cover on our computer repair page.